Learning how to Nintendo Switch properly makes a big difference in your gaming experience. Nintendo’s hybrid console has sold over 140 million units worldwide, and new users join the community every day. Whether someone just unwrapped a new console or picked one up secondhand, this guide covers everything they need to know. From initial setup to mastering play modes, the Nintendo Switch offers flexibility that other consoles simply don’t match. This article walks through each step clearly so beginners can start playing within minutes.
Table of Contents
ToggleKey Takeaways
- Setting up a Nintendo Switch takes about 10 minutes—connect the dock, power on, link to Wi-Fi, and create a Nintendo Account to access online features.
- The Nintendo Switch offers three play modes: TV Mode for 1080p visuals, Handheld Mode for portable gaming, and Tabletop Mode for on-the-go multiplayer.
- Expand your storage with a microSD card (up to 2TB) since the base console only includes 32GB of internal memory.
- Subscribe to Nintendo Switch Online ($19.99/year) to unlock online multiplayer, cloud saves, and classic NES/SNES games.
- Protect your investment by applying a tempered glass screen protector and keeping the system firmware updated for optimal performance.
- Check the eShop weekly for deals—Nintendo frequently discounts games by 30-50%, especially during holiday sales.
Setting Up Your Nintendo Switch for the First Time
Setting up a Nintendo Switch takes about 10 minutes. Users should start by connecting the dock to a TV using the included HDMI cable. The AC adapter plugs into the dock and then into a wall outlet. Place the Switch console into the dock with the screen facing forward.
Power on the console by pressing the power button on top. The system prompts users to select their language and region. Next, connect to a Wi-Fi network, this step is essential for downloading games and system updates.
Creating a Nintendo Account unlocks online features and the eShop. Users can create one directly on the console or link an existing account. Each Switch supports up to eight user profiles, so families can share one console while keeping save data separate.
The system will likely prompt for a software update. Accept this update, as it often includes important bug fixes and new features. After the update completes, the Switch displays the Home Menu. The initial setup is now complete.
One tip: charge the console fully before the first portable play session. A full charge takes about three hours and provides 4.5 to 9 hours of battery life depending on the game.
Understanding the Different Play Modes
The Nintendo Switch offers three distinct play modes. This flexibility sets it apart from other gaming consoles.
TV Mode
TV Mode delivers the traditional home console experience. Slide the Switch into its dock, and the image appears on the connected television. The Joy-Con controllers detach from the console and work wirelessly. This mode supports resolutions up to 1080p and provides the best visual quality.
Handheld Mode
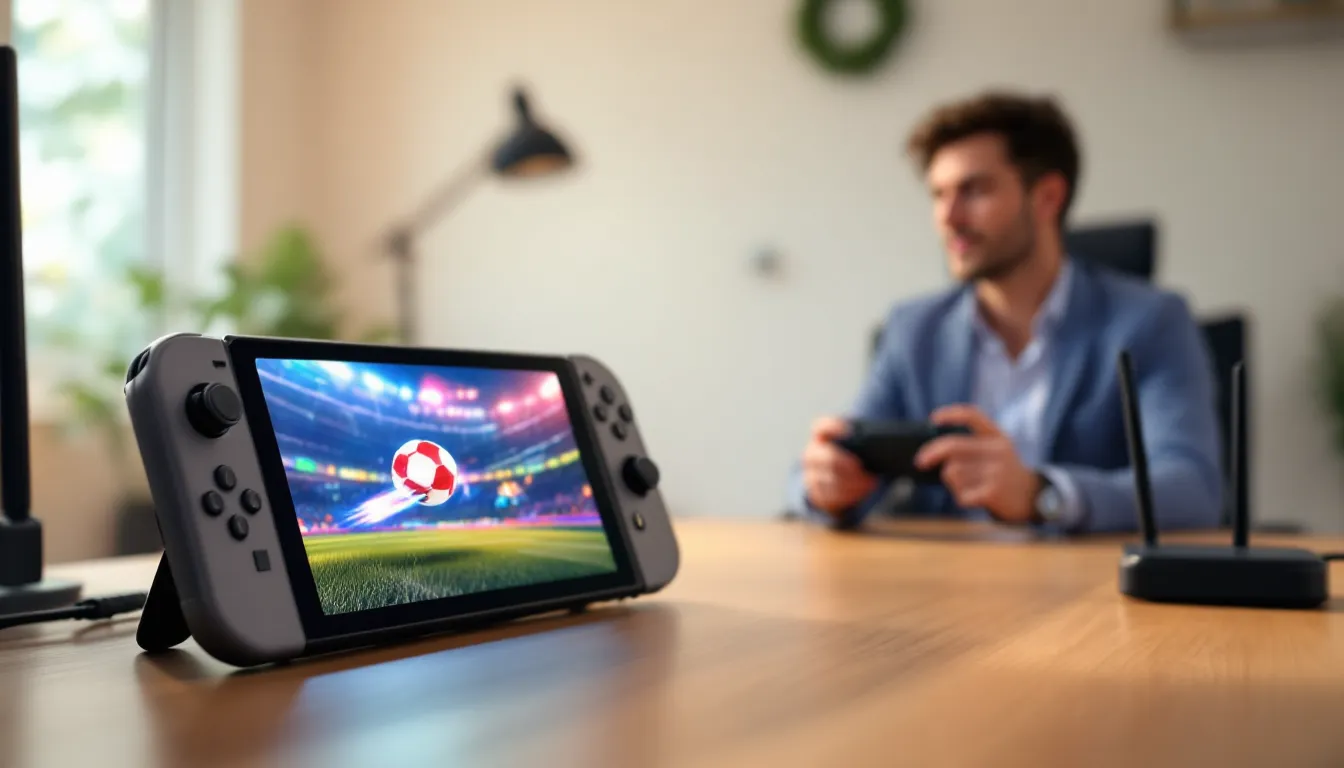
Handheld Mode turns the Switch into a portable gaming device. Attach the Joy-Con controllers to the sides of the console and play anywhere. The 6.2-inch screen (or 7-inch on the OLED model) displays games at 720p. Battery life varies by game, Zelda drains power faster than lighter titles like Stardew Valley.
Tabletop Mode
Tabletop Mode works great for multiplayer sessions on the go. Use the built-in kickstand to prop up the console on a flat surface. Detach the Joy-Cons and share them with a friend. Many games support split Joy-Con multiplayer, making this mode perfect for quick Mario Kart races during lunch breaks.
Switching between modes happens automatically. Remove the console from the dock, and it shifts to Handheld Mode instantly. No buttons to press, no settings to change.
Navigating the Home Menu and eShop
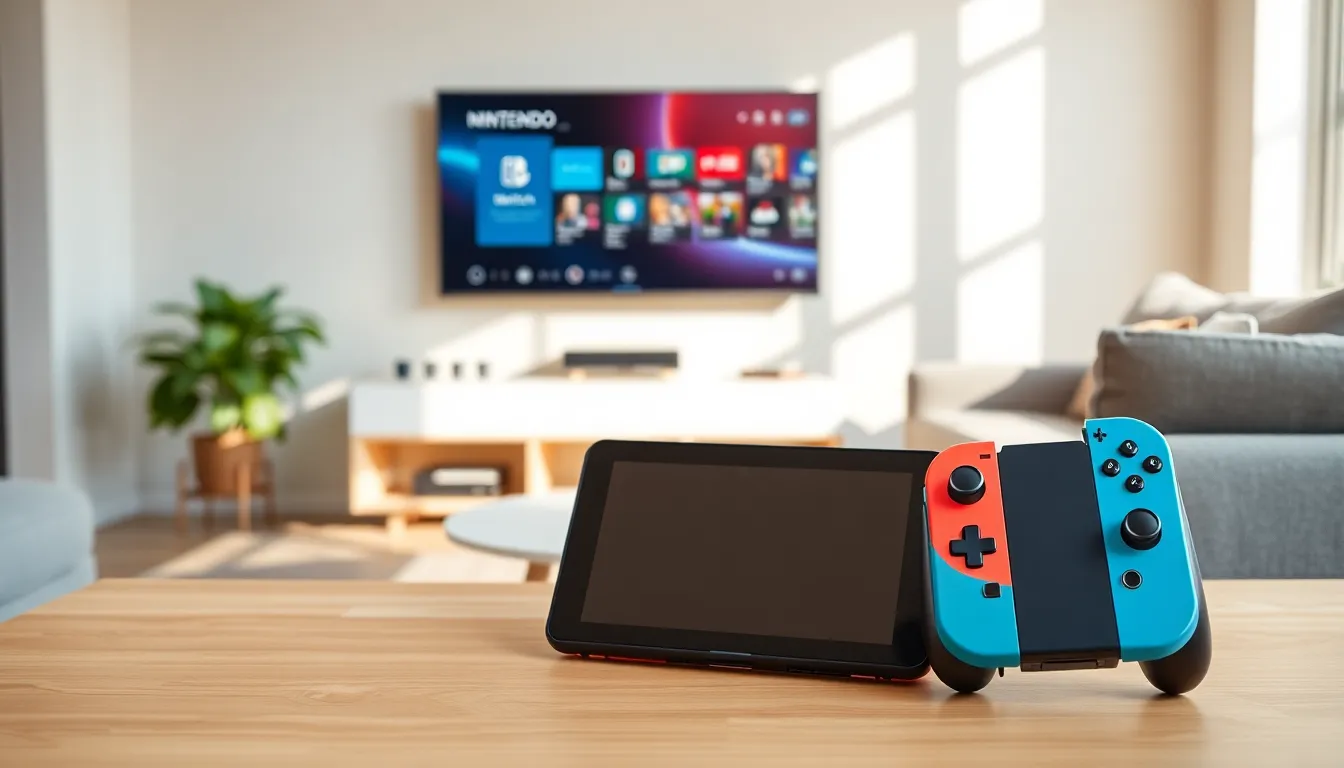
The Nintendo Switch Home Menu displays recently played games in a horizontal row. The most recent title appears first. Scroll right to see older games, or press the “All Software” button to view the complete library.
The bottom toolbar contains essential shortcuts. The News icon shows game updates and announcements from Nintendo. The eShop icon opens the digital storefront. The Album stores screenshots and video clips captured during gameplay.
The Nintendo eShop sells digital games, DLC, and subscriptions. Users browse by category, search for specific titles, or check the “Deals” section for discounts. Creating a wishlist helps track games for future purchases. The eShop accepts credit cards, PayPal, and Nintendo eShop gift cards.
System Settings lives in the bottom toolbar too. Here users adjust display brightness, manage data storage, configure parental controls, and update the system software. The “Data Management” section shows which games consume the most storage space.
The Switch includes 32GB of internal storage (64GB on OLED models). A microSD card expands this significantly, cards up to 2TB work with the system. Digital game collectors should invest in at least a 256GB card.
Connecting Controllers and Accessories
The Nintendo Switch supports various controllers and accessories. The included Joy-Con controllers work for most situations, but options exist for different preferences.
Pairing Joy-Con Controllers
Slide Joy-Cons onto the console rails to pair them automatically. For wireless pairing, go to Controllers > Change Grip/Order from the Home Menu. Press the sync button on each Joy-Con (located between the SL and SR buttons) until the lights flash. The controller connects within seconds.
Using a Pro Controller
The Nintendo Switch Pro Controller offers a traditional gamepad layout. Many players prefer it for longer sessions or games requiring precise input. Connect via USB-C cable for initial pairing, then use it wirelessly afterward. The Pro Controller battery lasts approximately 40 hours.
Third-Party Accessories
The Nintendo Switch works with many third-party accessories. Wired controllers, charging docks, and carrying cases all enhance the experience. When buying third-party items, check reviews to confirm compatibility. Some cheaper options lack features like HD rumble or motion controls.
Audio Options
The console includes a headphone jack for wired audio. Bluetooth audio support arrived via a 2021 system update. Pair wireless headphones through System Settings > Bluetooth Audio. Note that Bluetooth audio adds slight latency, which matters for rhythm games.
Tips for Getting the Most Out of Your Switch
A few smart habits help users maximize their Nintendo Switch experience.
Manage storage wisely. Archive games that aren’t actively being played. This removes game data but keeps the icon and save files. Redownload anytime from the eShop.
Enable airplane mode for longer battery life. Turning off Wi-Fi and Bluetooth extends portable play sessions significantly. Great for long flights or road trips.
Check the eShop deals weekly. Nintendo runs frequent sales, especially during holidays. Games regularly drop 30-50% below their normal prices.
Use Nintendo Switch Online. The subscription service costs $19.99 per year and includes online multiplayer, cloud saves, and access to classic NES and SNES games. The family plan covers up to eight accounts for $34.99.
Keep firmware updated. System updates improve performance and add features. The Switch downloads updates automatically when connected to Wi-Fi and in sleep mode.
Protect the screen. The Switch screen scratches easily. Apply a tempered glass screen protector immediately, they cost under $10 and prevent permanent damage.
Try different games. The Switch library spans every genre. Beyond the obvious Mario and Zelda titles, indie games like Hollow Knight and Hades offer hundreds of hours of entertainment at budget prices.