A solid Hogwarts Legacy guide can mean the difference between a frustrating first few hours and a magical adventure from the start. This open-world action RPG drops players into a beautifully realized version of the Wizarding World, complete with spell-casting combat, ancient mysteries, and a sprawling map begging for exploration. But the game throws a lot at newcomers, character choices, gear management, quest priorities, and combat mechanics all demand attention early on.
This guide covers the essentials every new witch or wizard needs to know. From building a character to mastering spell combinations, exploring the vast open world, and making the most of the Room of Requirement, these tips will help players hit the ground running.
Table of Contents
ToggleKey Takeaways
- This Hogwarts Legacy guide covers character creation, combat, exploration, and gear management to help new players succeed from the start.
- House and wand choices are cosmetic, so pick what feels right—invest early Talent points in Core abilities like Basic Cast Mastery for maximum impact.
- Match spell colors to enemy shield colors (yellow, purple, red) and set up balanced spell loadouts to handle any combat situation.
- Use Revelio constantly while exploring to reveal collectibles, and activate every Floo Flame for fast travel across the massive open world.
- Complete Merlin Trials to unlock more gear slots, and use the Room of Requirement’s Loom to craft powerful gear traits.
- Prioritize main story quests to unlock key abilities like flying and the Room of Requirement, then tackle companion quests for exclusive spells and great storytelling.
Getting Started With Your Character
Character creation in Hogwarts Legacy offers plenty of cosmetic options, but the choices that matter most come shortly after. Players select their Hogwarts house, Gryffindor, Slytherin, Ravenclaw, or Hufflepuff, during the Sorting Ceremony. This decision affects the common room location, some dialogue, and a house-exclusive quest. It doesn’t impact gameplay stats or abilities, so players should pick the house that feels right.
The wand selection follows a similar pattern. Wood type, core material, and flexibility all seem significant, but they’re purely cosmetic. The wand won’t change spell effectiveness or combat performance. Players can customize their wand’s appearance later at Ollivanders in Hogsmeade.
Talent points become available at level 5 and represent the first real build decisions. The talent tree splits into five categories: Spells, Dark Arts, Core, Stealth, and Room of Requirement. Early points work best in Core talents, as they boost overall effectiveness regardless of playstyle. The spell “Basic Cast Mastery” talent deserves priority, it reduces spell cooldowns significantly.
Difficulty can be changed at any time from the settings menu. New players might want to start on Story or Easy mode to learn the combat system, then bump it up once spell-casting feels natural. There’s no penalty for adjusting difficulty mid-game.
Combat Basics and Spell Combinations
Combat in Hogwarts Legacy rewards players who think strategically about spell combinations. Every enemy has a colored shield, yellow, purple, or red, that requires a matching spell type to break. Yellow shields fall to control spells like Levioso. Purple shields need force spells like Accio. Red shields require damage spells like Incendio.
A reliable Hogwarts Legacy guide will stress the importance of spell loadouts. Players can equip four spells at once across multiple loadout slots. Setting up loadouts with at least one spell of each color ensures readiness for any enemy type. Many players keep Levioso, Accio, and Incendio as constants, swapping the fourth slot based on the situation.
The basic cast (R2/RT/right-click) deals consistent damage and should fill gaps between spell cooldowns. Holding the basic cast button charges a more powerful strike. Combine this with spells for devastating results, launch an enemy with Levioso, pull them close with Accio, then hit them with a charged basic cast as they fall.
Dodging and Protego (the shield spell) form the defensive backbone. Protego blocks most attacks when timed correctly. A yellow indicator above the character’s head signals incoming blockable attacks. Red indicators mean the attack must be dodged instead. Perfect Protego timing staggers enemies and opens them up for a Stupefy counter.
Ancient Magic builds through combat and allows powerful finishing moves. Save Ancient Magic throws for tougher enemies or use them to quickly eliminate annoying ranged attackers. The combat system grows more satisfying as players unlock additional spells and experiment with combinations.
Exploring the Open World
The Hogwarts Legacy open world is massive, spanning Hogwarts castle, Hogsmeade, and the surrounding Scottish Highlands. Early exploration feels limited, but the map opens up quickly after completing initial story quests.
Floo Flames serve as fast travel points scattered throughout the world. Activating every Floo Flame encountered saves enormous amounts of travel time later. The castle alone contains dozens of these green fireplaces, and missing them means long walks through identical corridors.
Revelio is the explorer’s best friend. This spell highlights interactive objects, collectibles, field guide pages, and hidden items nearby. Players should cast Revelio constantly while exploring, it has no cooldown and reveals things easily missed otherwise. Collection chests, demiguise statues, and astronomy tables all appear with Revelio’s blue glow.
Flying becomes available relatively early through broomstick quests. A broom dramatically speeds up overworld travel and opens access to areas unreachable on foot. Upgrading broom speed at Spintwitches in Hogsmeade makes a noticeable difference. Players can also capture and mount magical creatures later in the game.
Merlin Trials dot the landscape and increase inventory space upon completion. These environmental puzzles require specific spells to solve. Some need Incendio to light braziers, others require Levioso to guide balls into holes. Completing Merlin Trials should be a priority for players struggling with limited gear slots.
The map contains hundreds of collectibles, including field guide pages, ancient magic hotspots, and treasure vaults. Treasure vaults offer excellent gear rewards and provide quick combat encounters or puzzle challenges.
Managing Gear and the Room of Requirement
Gear management becomes critical around the midgame. Equipment drops constantly from chests, enemy defeats, and quest rewards. Each piece has stats affecting offense and defense, plus potential traits that boost specific abilities.
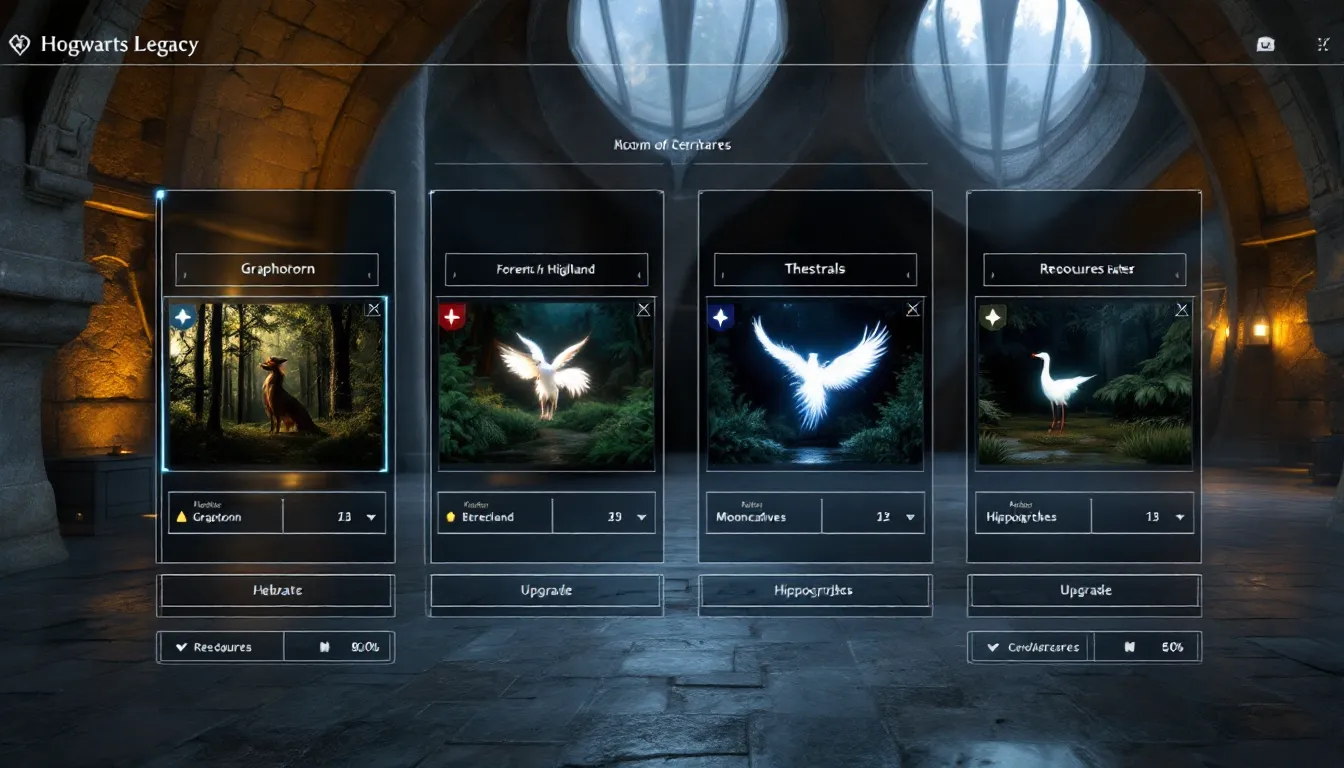
The Room of Requirement unlocks through the main story and serves as a personal base. Here, players can breed magical beasts, grow plants, and brew potions. More importantly, the room contains the Loom, a crafting station for adding and upgrading gear traits.
Traits transform average gear into powerful equipment. Binding traits like “Ambush” boost damage from stealth attacks. “Concentration” increases damage while the player has full health. Players should identify their preferred combat style and seek matching traits.
Inventory space limitations frustrate many players. The solution involves completing Merlin Trials, which unlock additional gear slots. Selling or destroying unwanted gear keeps the inventory manageable. Don’t hoard low-level equipment hoping it becomes useful, it won’t.
Vivariums within the Room of Requirement house rescued magical creatures. These creatures produce materials needed for upgrading gear at the Loom. Rescuing and caring for creatures isn’t just a side activity: it directly supports the gear upgrade loop.
Potions and plants provide significant combat advantages. Wiggenweld potions restore health during fights. Edurus potions grant temporary invincibility. Focus potions reduce spell cooldowns. Venomous Tentacula and Mandrakes act as deployable combat companions. Maintaining a stock of consumables through the Room of Requirement makes difficult encounters much easier.
Completing Main Quests and Side Content
The main quest line in Hogwarts Legacy takes roughly 30-40 hours to complete. Side quests, relationship quests, and exploration can easily double that time. Balancing main and side content keeps the experience fresh without feeling overwhelming.
Relationship quests with companions like Sebastian Sallow, Natsai Onai, and Poppy Sweeting offer some of the game’s best storytelling. Sebastian’s questline is particularly notable, it explores dark magic and presents meaningful moral choices. These quests unlock exclusive spells unavailable through the main story.
Professor assignments function as extended tutorials that reward spells and recipes. Completing them early provides more tools for combat and exploration. Each professor assigns multiple rounds of tasks, with each round granting something useful.
Side quests vary in quality. Some offer interesting mini-stories with unique rewards. Others amount to simple fetch quests. The map can feel cluttered with quest markers, and players shouldn’t feel obligated to complete everything. Focus on quests that sound interesting or offer specific rewards.
The main story gates certain abilities behind progression. Flying, the Room of Requirement, and various spells all unlock through story advancement. Players feeling underpowered or limited should push the main quest forward before grinding side content.
Late-game content includes high-level enemy camps, difficult treasure vaults, and optional boss encounters. These provide the best gear drops and the most challenging combat.